在之前的教程中,我们学习了如何在滚动上创建灰度到颜色的效果。为了实现它,我们利用了现代前端特性,如 css Grid、clip-path属性和 Intersection Observer api。
今天,我们将使用这些工具和从该教程中获得的知识来构建另一个很酷的滚动效果。当我们滚动时,页面元素将依次出现幻灯片动画。这是您可能会在投资组合网站上看到的常见滚动效果。我们将建造什么。无需进一步介绍,让我们看看我们将要构建的内容:
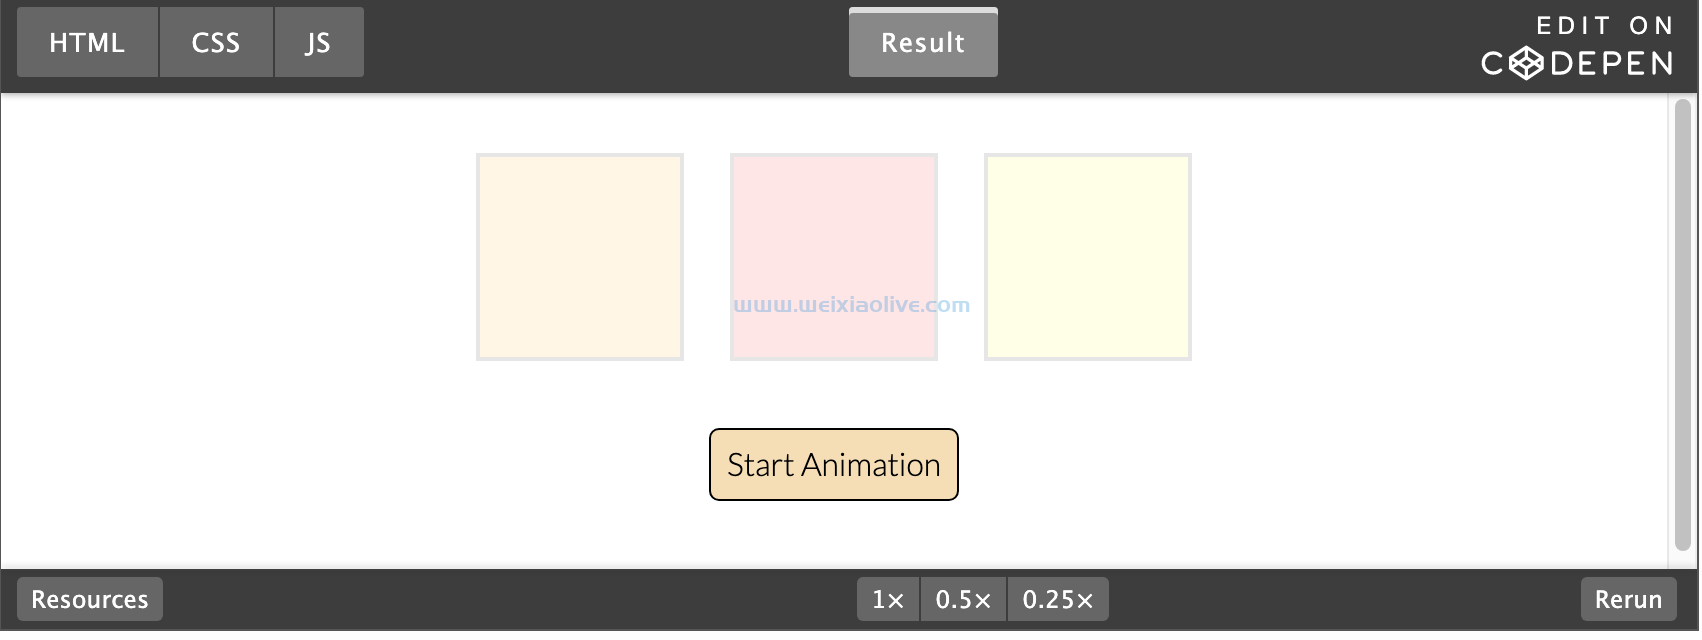
See the Pen Create Beautiful Scrolling Animations With the CSS clip-path Property by Envato Tuts+ (@tutsplus) on CodePen.
注意:请务必阅读上述教程,因为我们会从中获取一些代码片段。
如何在滚动上构建灰度到颜色效果(CSS 和 javascript)
在这个新教程中,我们将从一些灰度图像开始,并学习如何在滚动时平滑地显示它们的颜色变体。为了达到想要的...
1.从 html 标记开始
我们将从一个section包含嵌套sections 的包装器元素开始。每个子部分将具有以下三种可能的布局之一:
左边是图片,右边是文字。
右边的大文字。
左边是文字,右边是图片。
这是这些布局的可视化表示:
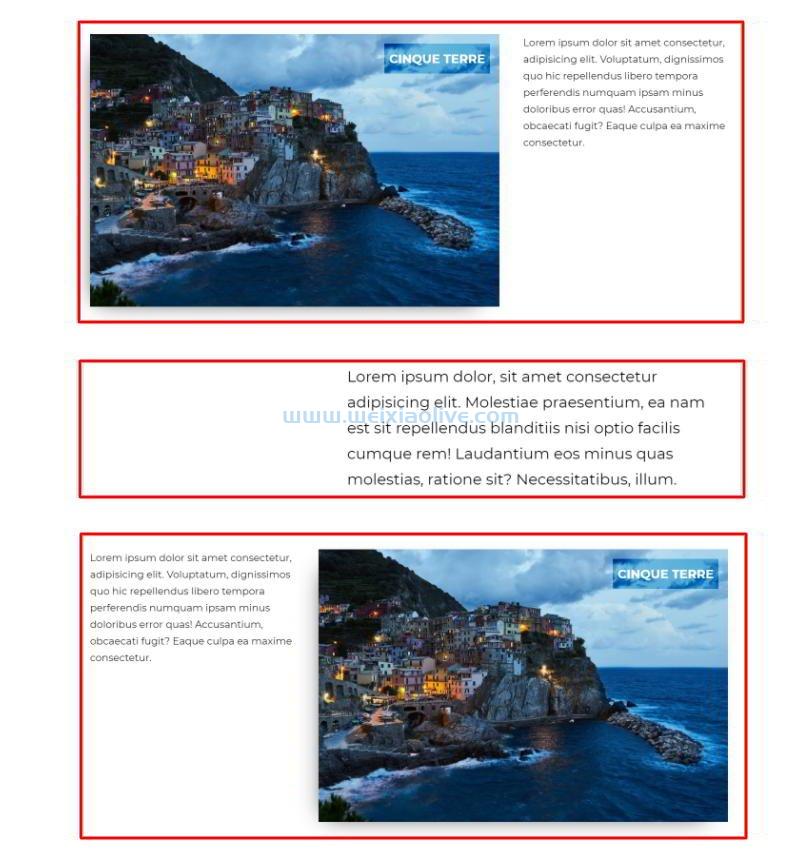
值得注意的是,对于所有布局,我们将使用相同的Pixabay图像。您可能还记得我们已经在另一个滚动教程中使用过它。
所需的标记:
<section class="main-section">
<section class="grid">
<figure>
<img src="IMG_SRC" alt="">
<figcaption>...</figcaption>
</figure>
<p>...</p>
</section>
<section class="big-text">
<p>...</p>
</section>
<section class="grid grid-alternate">
<p>...</p>
<figure>
<img src="IMG_SRC" alt="">
<figcaption>...</figcaption>
</figure>
</section>
</section>
2.定义样式
接下来,我们将写下我们风格中最重要的方面。对于这个演示,我们不会讨论重置规则,因为它们并不重要。所以,直截了当:
我们将定义grid、grid-alternate和big-text类来捕获不同的布局。前两个利用 CSS Grid,而最后一个使用margin-left: auto.
只是为了练习一个新的 CSS 函数,我们将使用它clamp() 来创建流畅的排版。
每个figure元素都有一个绝对定位的::before伪元素。该元素将充当图像叠加层并首先进行动画处理。
由于该clip-path属性,所有动画元素最初都将被隐藏。同样,要真正了解此属性的工作原理,请查看本教程。
为了链接动画,我们将适当的值传递给 transition-delay每个元素的属性。随意使用 CSS 变量使它们动态化。
在最大 1000px 宽的屏幕上,所有元素都将被堆叠。此外,在图像部分,图像将始终位于文本之前。
以下是基于这些假设的相应样式:
/*CUSTOM VARIABLES HERE*/
body {
font: clamp(16px, 2vw, 22px) / 1.7 "Montserrat", sans-serif;
}
.main-section {
max-width: 1400px;
padding: 0 30px;
margin: 120px auto;
}
.main-section section + section {
margin-top: 120px;
}
.main-section .grid {
display: grid;
grid-column-gap: 60px;
grid-template-columns: 2fr 1fr;
}
.main-section .grid-alternate {
grid-template-columns: 1fr 2fr;
}
.main-section .big-text {
max-width: 800px;
margin-left: auto;
font-size: clamp(24px, 2vw, 32px);
}
.main-section figure {
position: relative;
box-shadow: -1rem 1rem 3rem -2rem rgba(0, 0, 0, 0.5);
}
.main-section figure::before {
content: "";
position: absolute;
top: 0;
right: 0;
bottom: 0;
left: 0;
background: var(--blue-sudo);
transition: clip-path 0.3s;
}
.main-section figure img {
display: block;
clip-path: inset(0 100% 0 0);
transition: clip-path 0.6s 0.3s;
}
.main-section figure figcaption {
position: absolute;
top: 20px;
right: 20px;
padding: 10px;
font-weight: bold;
text-transform: uppercase;
color: var(--white);
background: var(--blue);
mix-blend-mode: overlay;
transition: clip-path 0.3s 0.9s;
}
.main-section figure::before,
.main-section figure figcaption {
clip-path: inset(0 0 0 100%);
}
@media (max-width: 1000px) {
.main-section {
margin: 60px auto;
}
.main-section section + section {
margin-top: 60px;
}
.main-section .grid {
grid-template-columns: 1fr;
grid-row-gap: 30px;
}
.main-section .grid-alternate figure {
order: -1;
}
}
3.滚动动画
当我们滚动时,我们将只对图像部分(即具有grid类的部分)进行动画处理。更具体地说,我们将按此顺序为以下元素设置动画:
元素的::before伪figure元素(具有深色背景的元素)。
图片。
图片说明。

当每个元素至少有 50%figure进入视口时,它将接收is-animated 该类。否则,它将失去这个类并被隐藏。
所以当a的一半figure在视口内时,关联的子元素会从不同的方向依次出现。首先,::before伪元素将从右侧出现,然后是左侧的图像,最后是右侧的标题。
我们需要的 JavaScript 代码取自灰度到彩色效果教程。我们只需要匹配不同的元素:
const targets = document.queryselectorAll(".main-section .grid figure");
const isAnimated = "is-animated";
const threshold = 0.5;
function callback(entries, observer) {
entries.forEach((entry) => {
const elem = entry.target;
if (entry.intersectionRatio >= threshold) {
elem.classList.add(isAnimated);
//observer.unobserve(elem);
} else {
elem.classList.remove(isAnimated);
}
});
}
const observer = new IntersectionObserver(callback, { threshold });
for (const target of targets) {
observer.observe(target);
}
以下是创建动画序列的相关 CSS 规则:
.main-section figure::before {
transition: clip-path 0.3s;
}
.main-section figure img {
clip-path: inset(0 100% 0 0);
transition: clip-path 0.6s 0.3s;
}
.main-section figure figcaption {
transition: clip-path 0.3s 0.9s;
}
.main-section figure::before,
.main-section figure figcaption {
clip-path: inset(0 0 0 100%);
}
.main-section figure.is-animated::before,
.main-section figure.is-animated img,
.main-section figure.is-animated figcaption {
clip-path: inset(0);
}
注意:代替clip-path属性,我们同样可以使用transform 来实现相同的效果。查看本教程 的第三个示例以获取更多信息。
结论
就是这样,伙计们!今天我们介绍了一种利用令人惊叹的新前端工具在滚动上按顺序显示元素的方法。最重要的是,我们在不使用任何库的情况下构建了这种效果。
希望您能够以类似的效果丰富您的页面。




![如何删除Word中的空白页[4种简单方法] 如何删除Word中的空白页[4种简单方法]](https://www.weixiaolive.com/en/zb_users/upload/2023/07/20230702124855168827333590644.png)

